

Replacing an ONU (Optical Network Unit) at home primarily involves ensuring proper fiber connection and successful device registration/authentication. The process is not highly difficult and can be completed by following the steps below. Please handle all fiber components gently throughout:
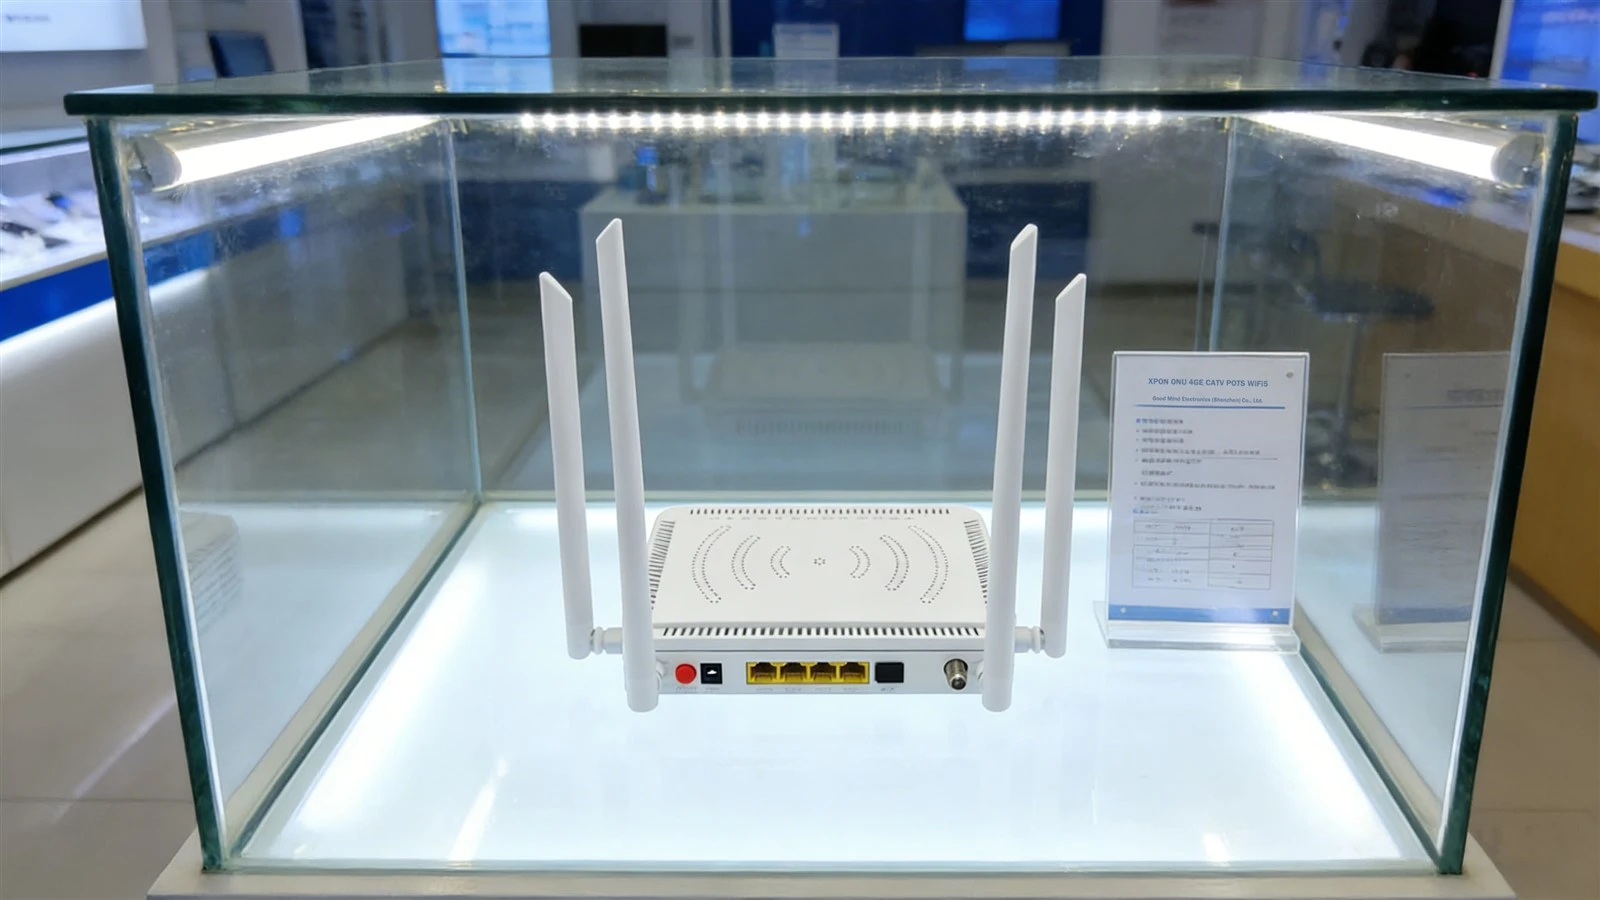
1.Confirm New ONU Compatibility with Your ISP
ONUs are customized by operators, so ensure the new ONU supports your broadband's PON type (common types include EPON and GPON). You can check the label on the bottom of the old ONU or consult your ISP customer service.
2.Record Key Information
Take note of the LOID code (the core code for ONU registration/authentication, sometimes called the SN authentication code) from the bottom of the old ONU-photograph it for reference.
Also, record your broadband internet account and password (used for PPPoE dial-up). If forgotten, contact your ISP to reset them.
3.Power Off and Disassemble the Old ONU
Turn off the power switch of the old ONU, then unplug the power cable, Ethernet cable (connecting to your router or computer), and fiber optic cable (the thin cable with a blue/green connector).
If applicable, use a screwdriver to remove the mounting bracket of the old ONU and move the old device aside.
4.Install the New ONU and Connect Hardware
Secure the new ONU in the original location (or a convenient spot), avoiding direct sunlight and damp environments.
Connect the fiber optic cable: Insert the connector from the wall fiber outlet into the PON port of the new ONU (usually labeled "PON" and is a standalone port). Align and insert gently until you hear a "click," indicating it's secured. Never bend the fiber cable (the bending radius must not be less than 3 cm, or it may break and cause loss of connection).
Connect the Ethernet cable: Plug one end into a LAN port on the new ONU (labeled "LAN1/LAN2"; prefer LAN1 if available) and the other end into your computer or router's WAN port.
Connect the power cable: Plug in the new ONU's power adapter and turn on the power switch.
5.Register and Authenticate the New ONU
Open a browser on your computer, enter the management address printed on the bottom label of the new ONU (commonly 192.168.1.1), and log in with the default username and password (also found on the label or provided by the manufacturer).
Once logged in, locate the "Device Registration" or "LOID Authentication" option. Enter the previously recorded LOID code and click "Register."
Wait for 5–10 minutes without disconnecting power. Observe the PON light on the new ONU: if it changes from blinking to solid green, registration is successful. If it keeps blinking, the LOID code may be incorrect or the device may be incompatible. Double-check the information or contact your ISP.
6.Configure Internet Parameters
After successful registration, find "Internet Settings" in the management interface, select "PPPoE Dial-up," enter your broadband account and password, and save the settings.
If you wish to use Wi-Fi, go to "Wi-Fi Settings," set your Wi-Fi name and password, save, and restart the ONU.
7. Testing and Finalizing
- After restarting, observe the LAN and Internet lights on the ONU-a solid green light indicates network connectivity.
- Check that the PON light is solid green and the LOS light is generally off. At this point, you can happily open your favorite apps to watch videos, play games, and enjoy your internet experience.
8. Precautions
- The fiber optic connector is very fragile. Always hold the connector housing when plugging or unplugging-do not pull on the fiber cable itself.
- If the new ONU fails to register, it may be because the ISP has bound the old device's SN code. Contact customer service to unbind the old device and activate the new one.


